Current Favourite Recipe Book: The Hummingbird Bakery Cookbook

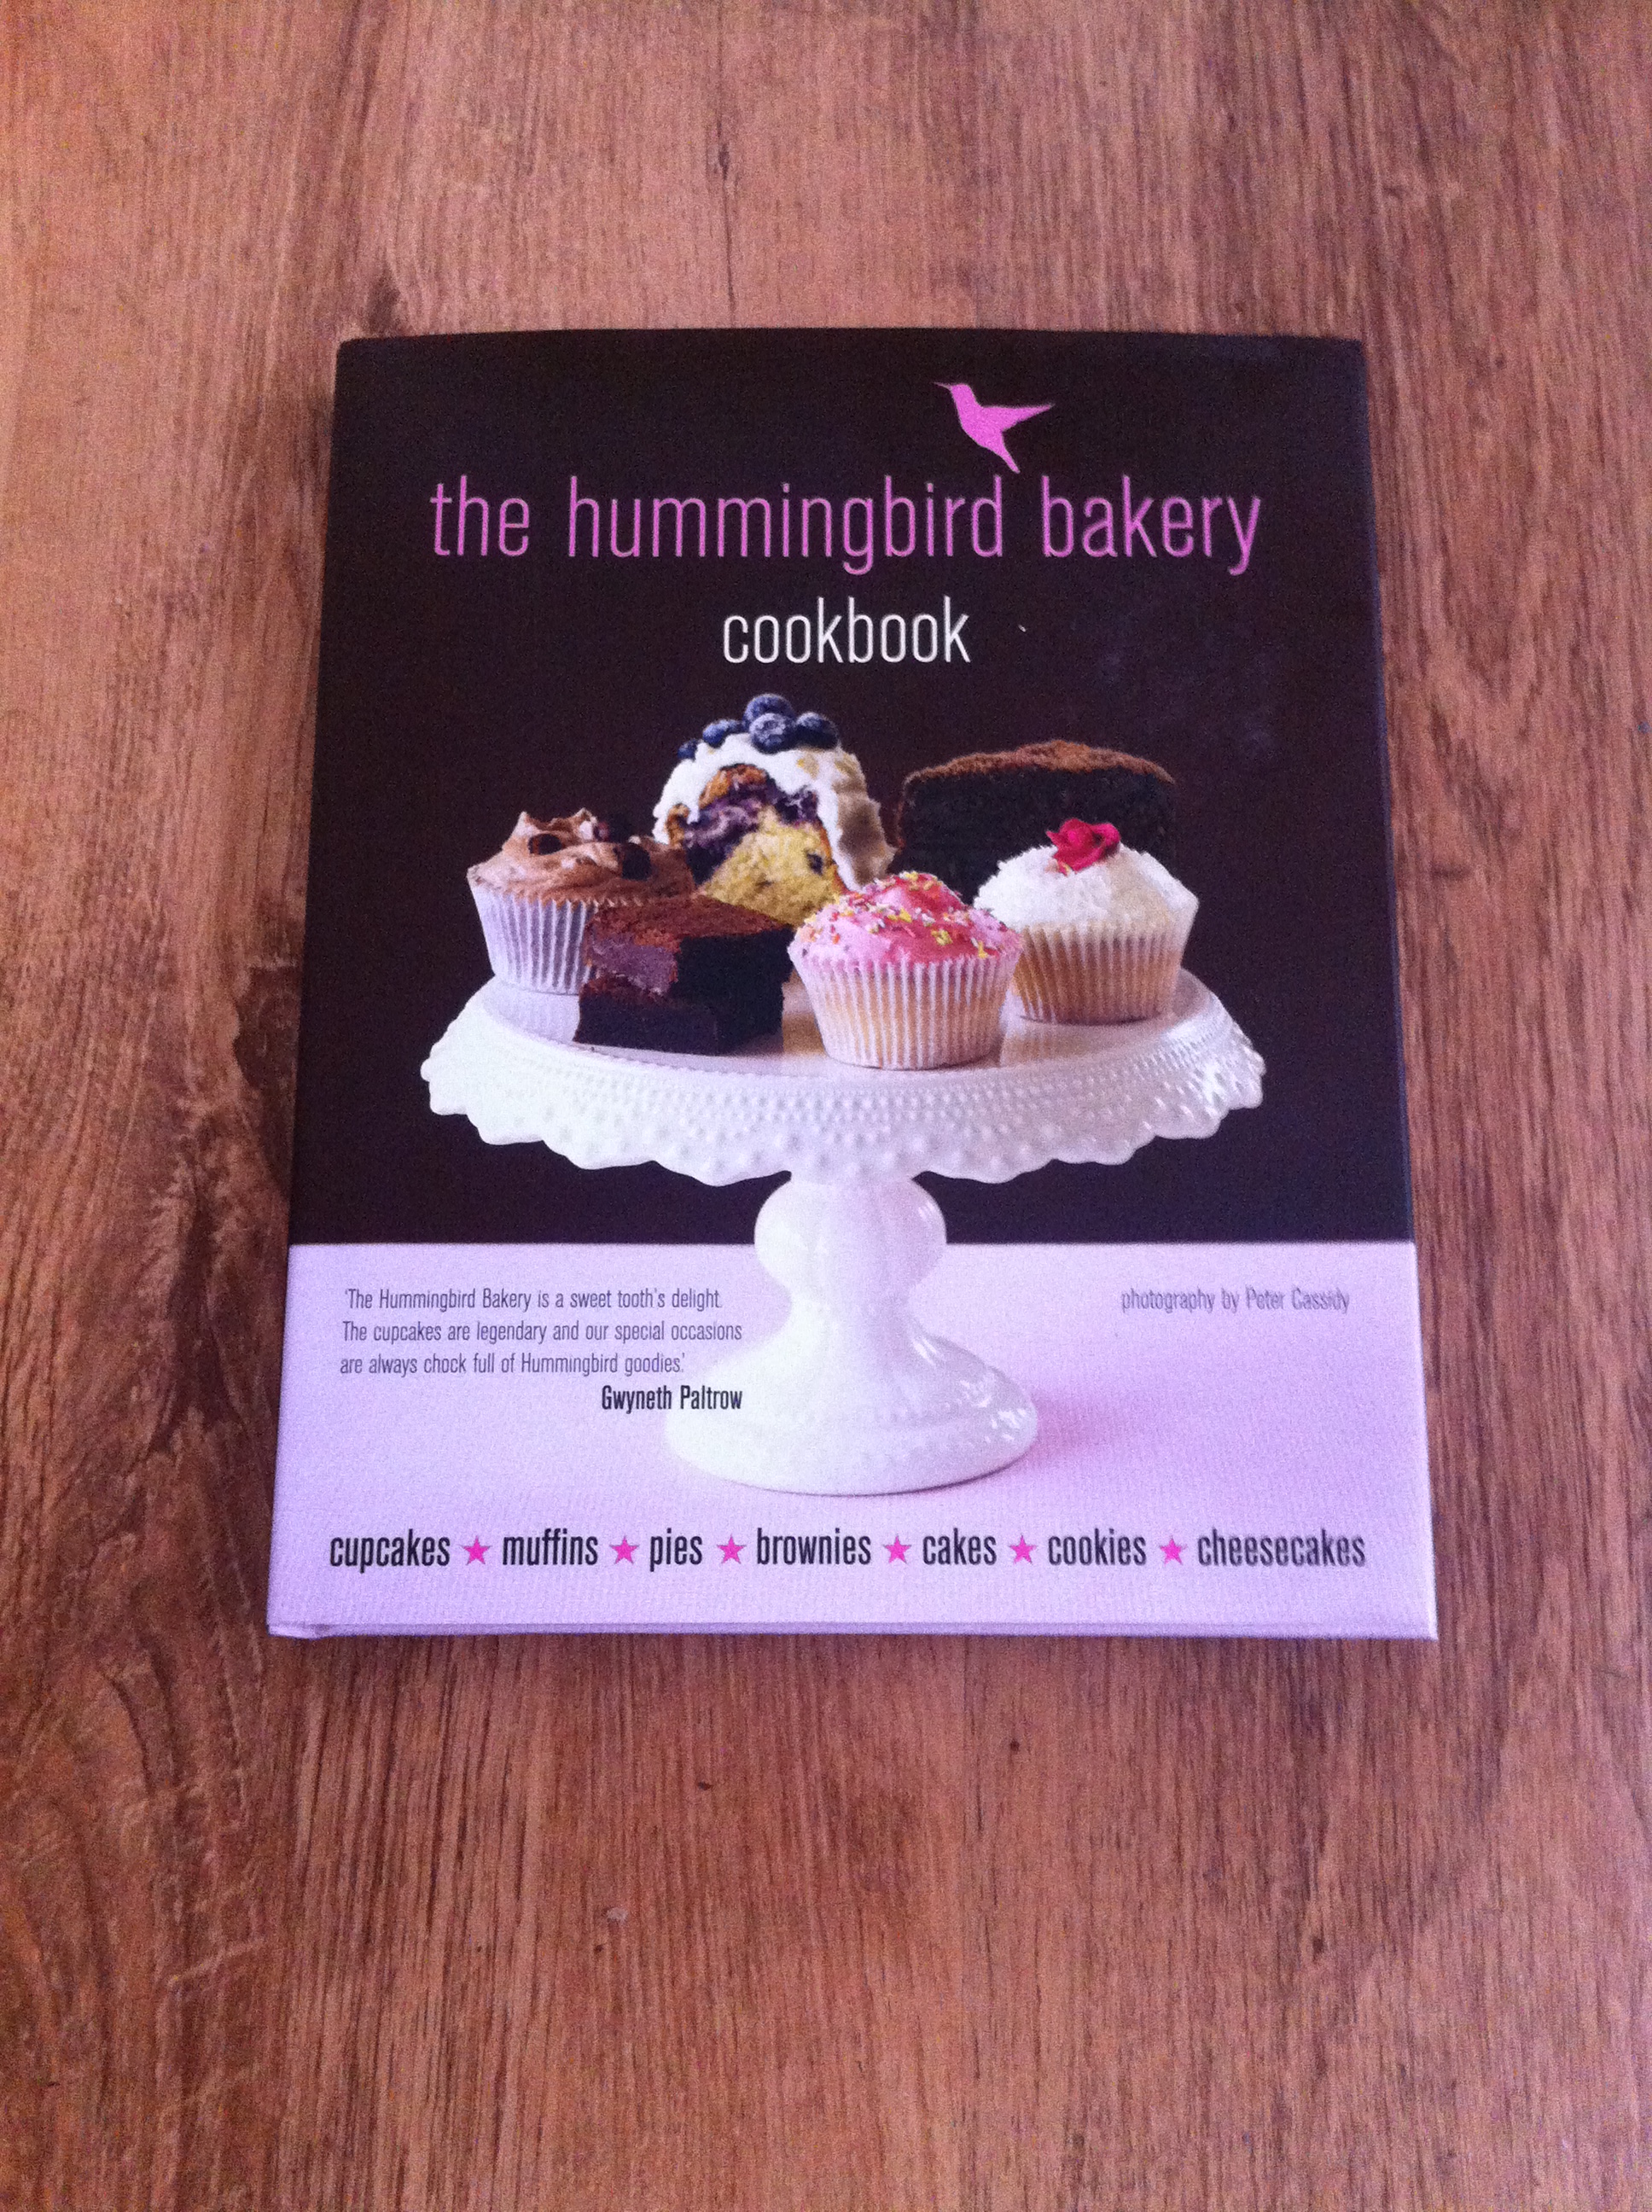
Today’s post is just a quick post about the recipe book that I am currently obsessed with! I love reading through recipe books, planning my next bake and I always have long lists of things I’m going to bake. Over the last few week I’ve pretty much exclusively been trying things from the Hummingbird bakery book and I think it’s a great book for people just getting into baking and those more experienced. The book retails for about £7 and can be found here on amazon http://www.amazon.co.uk/Hummingbird-Bakery-Cookbook-Tarek-Malouf/dp/1845978307 but you can also pick it up at places like WH Smiths! Here’s  a few snaps of the book:

006

007

008

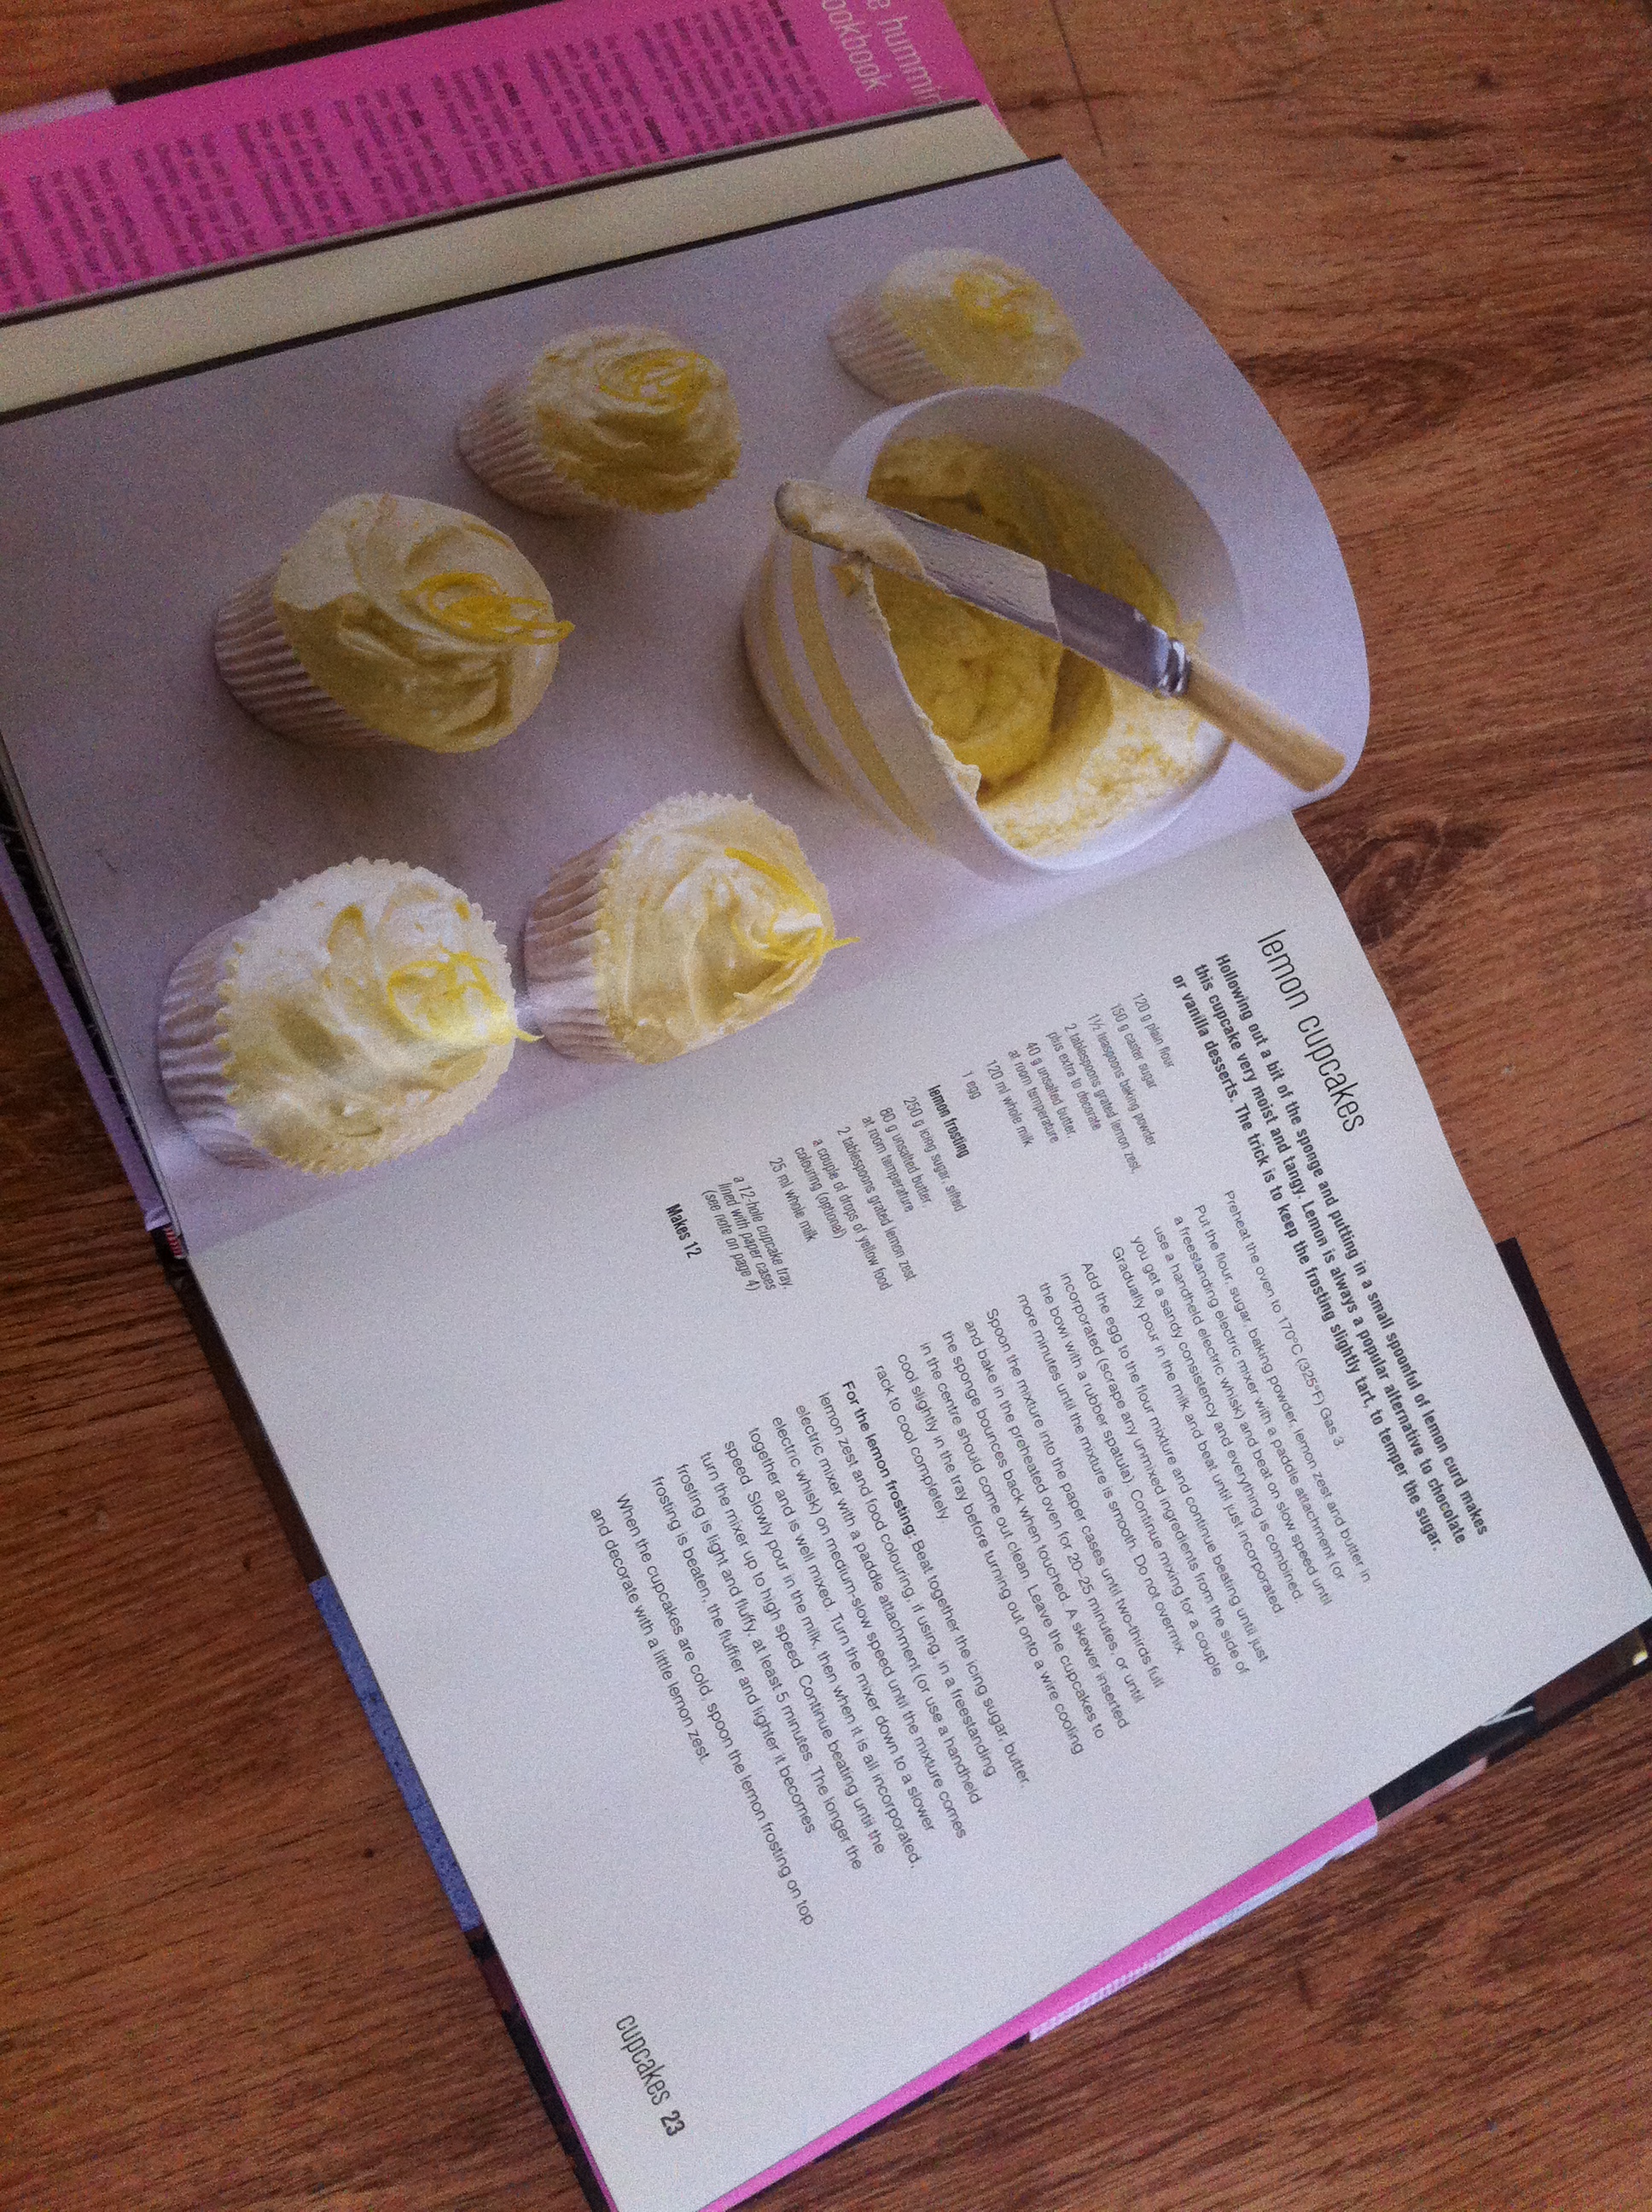
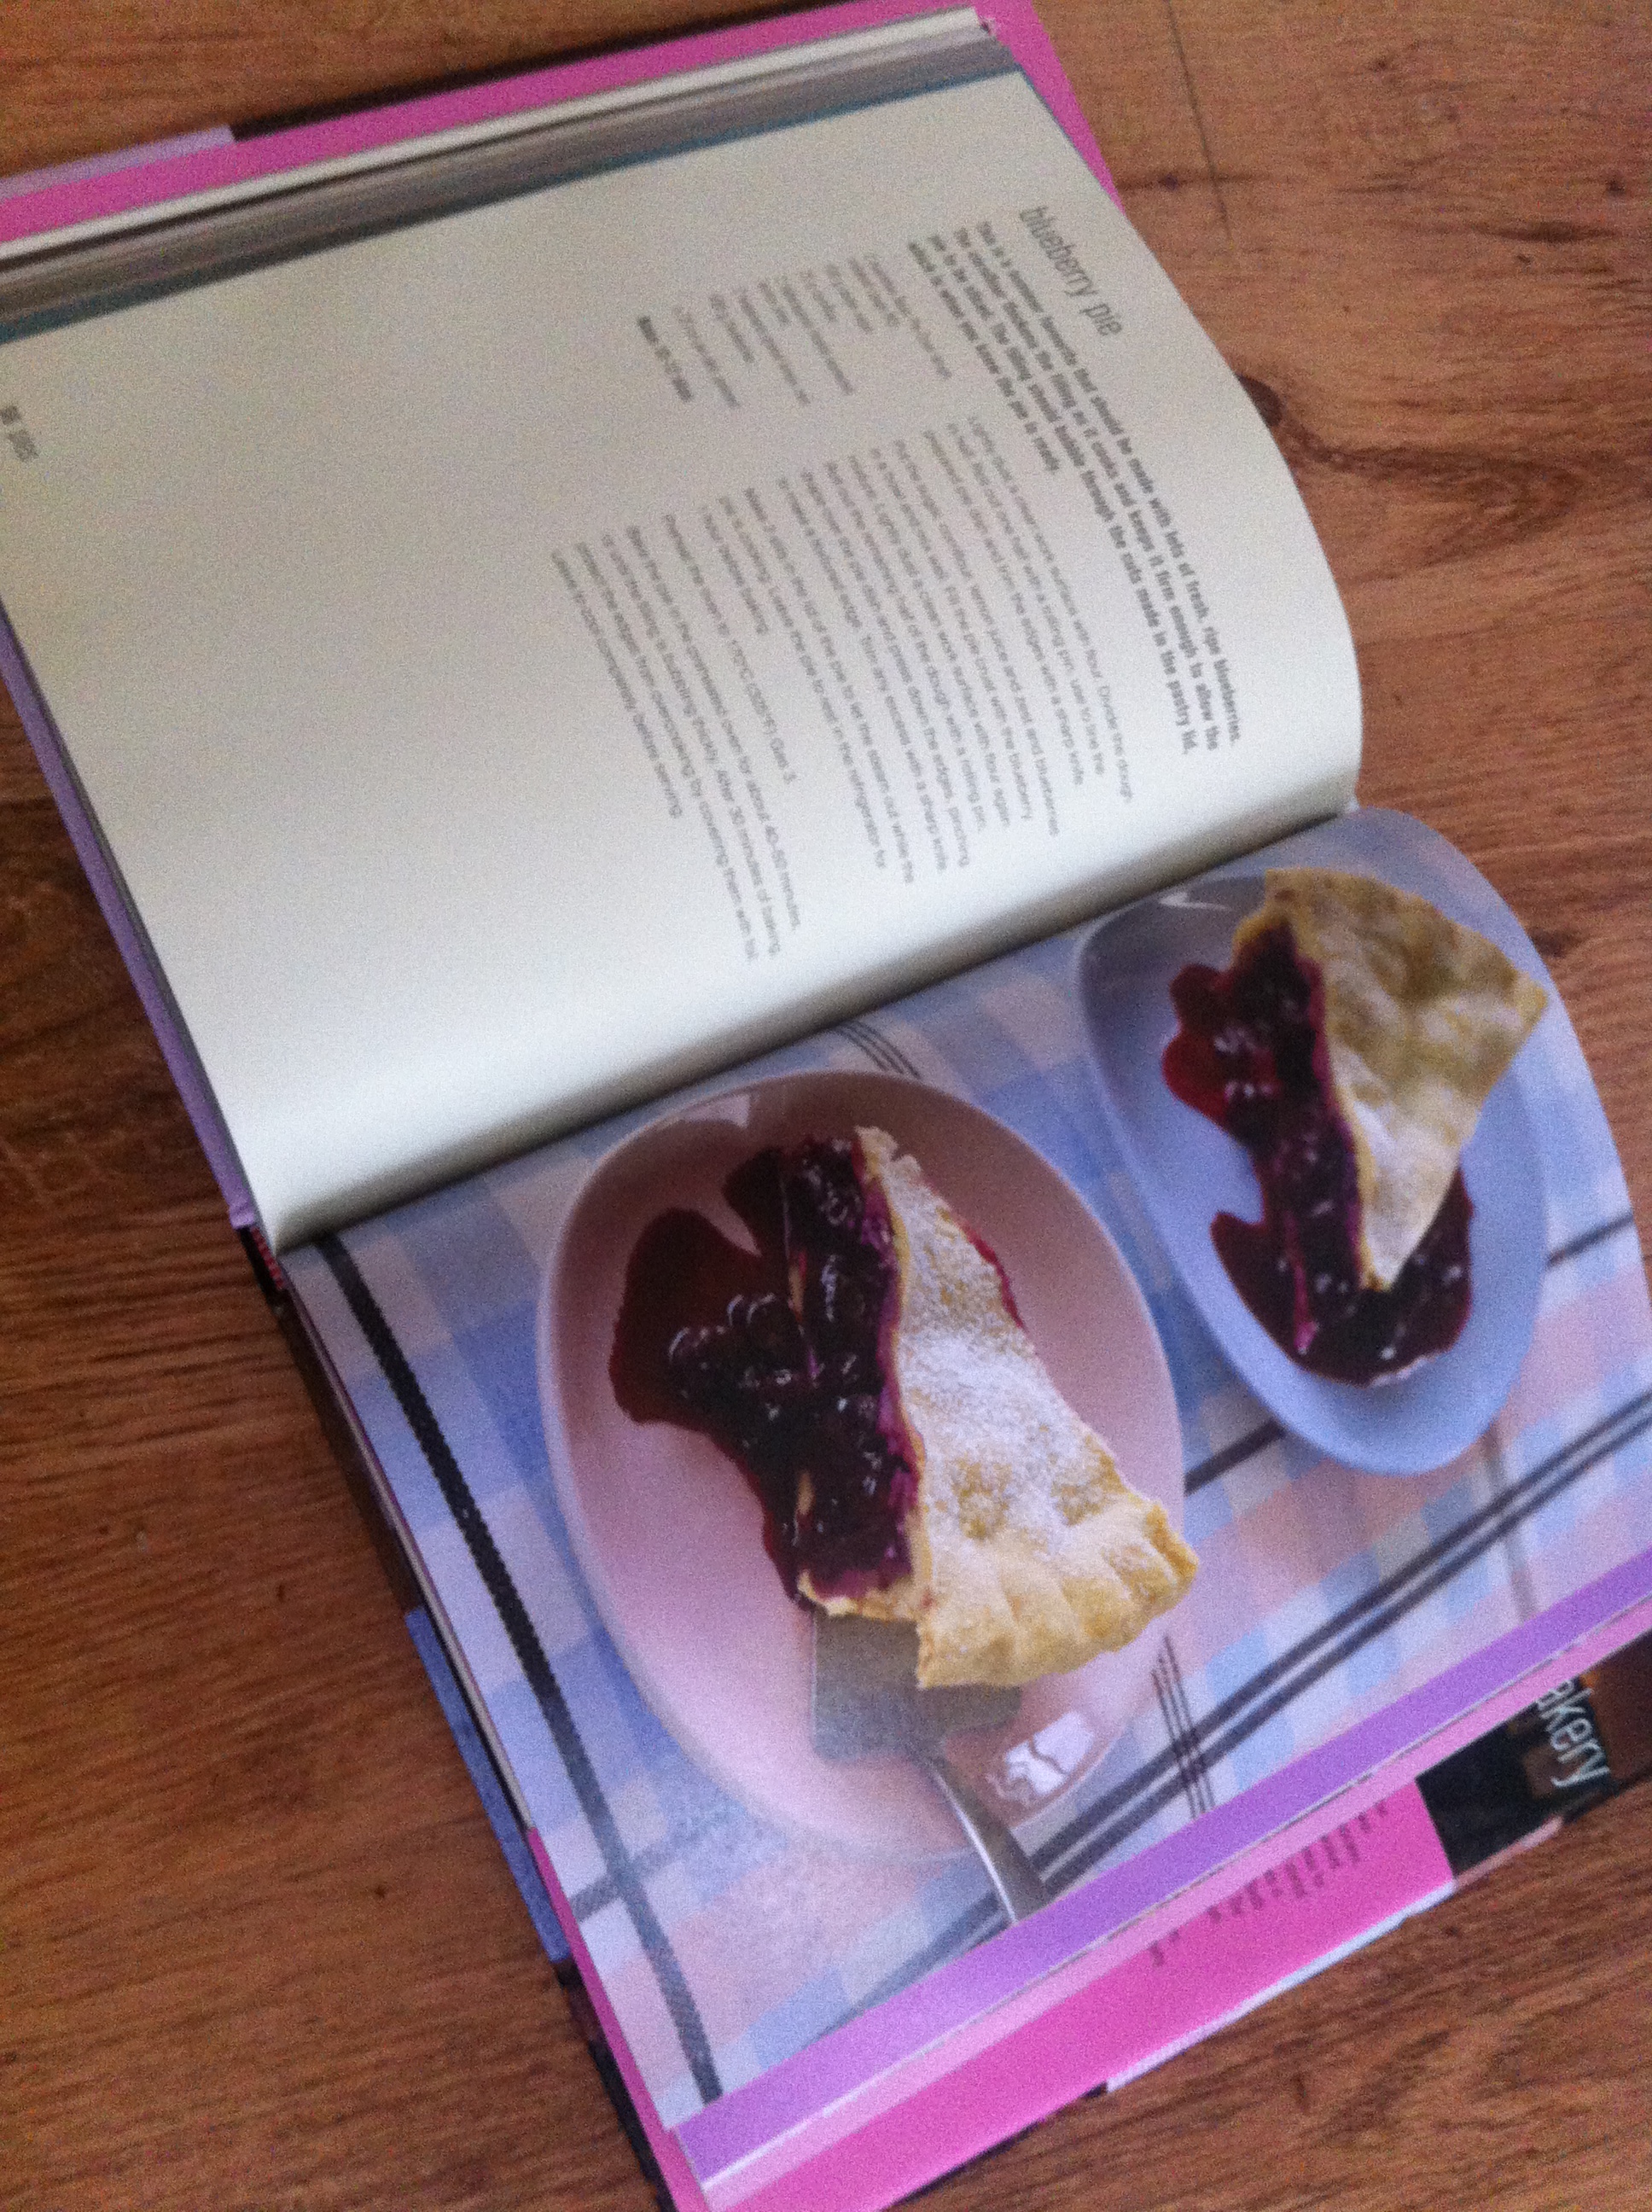
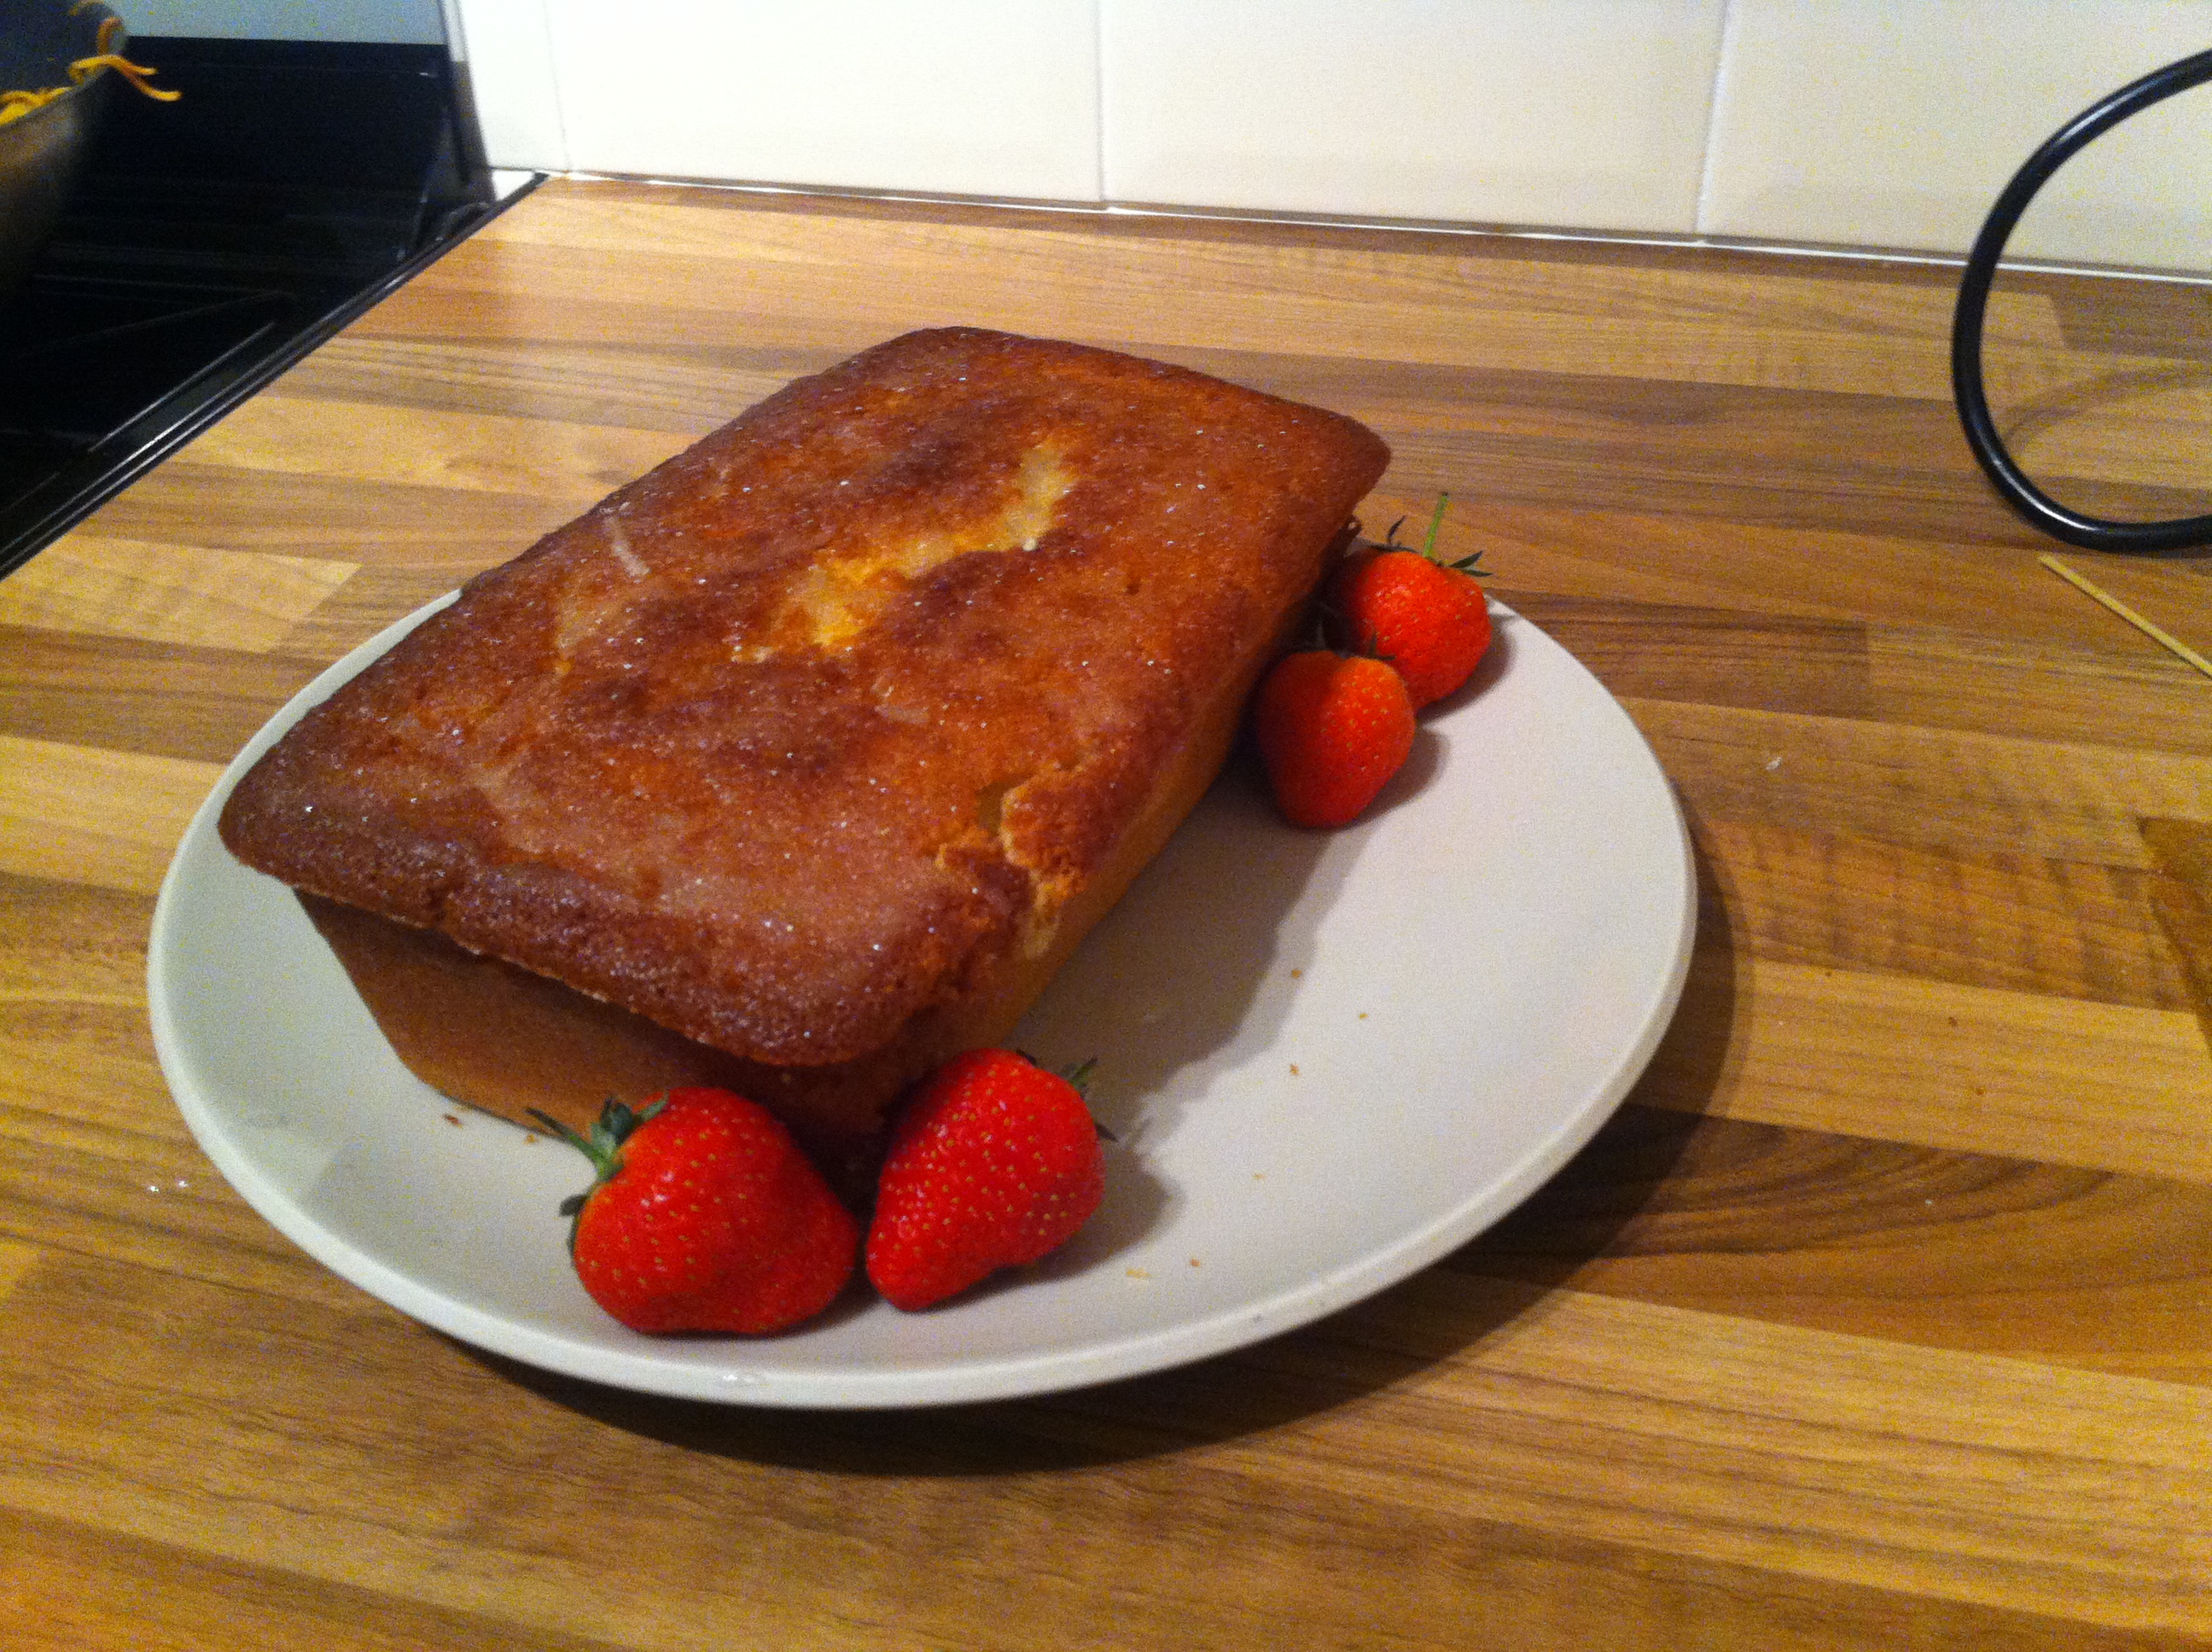
The book really has some great recipes and as you can see is lovely to flick through including lovely pictures and what not. I’ve tried a lot of recipes ranging from vanilla cupcakes (which introduced me to a new method of making the sponge, one that I now prefer), brownies, lemon loaf and the Hummingbird Brooklyn Blackout cake! Best chocolate sponge I’ve ever made!

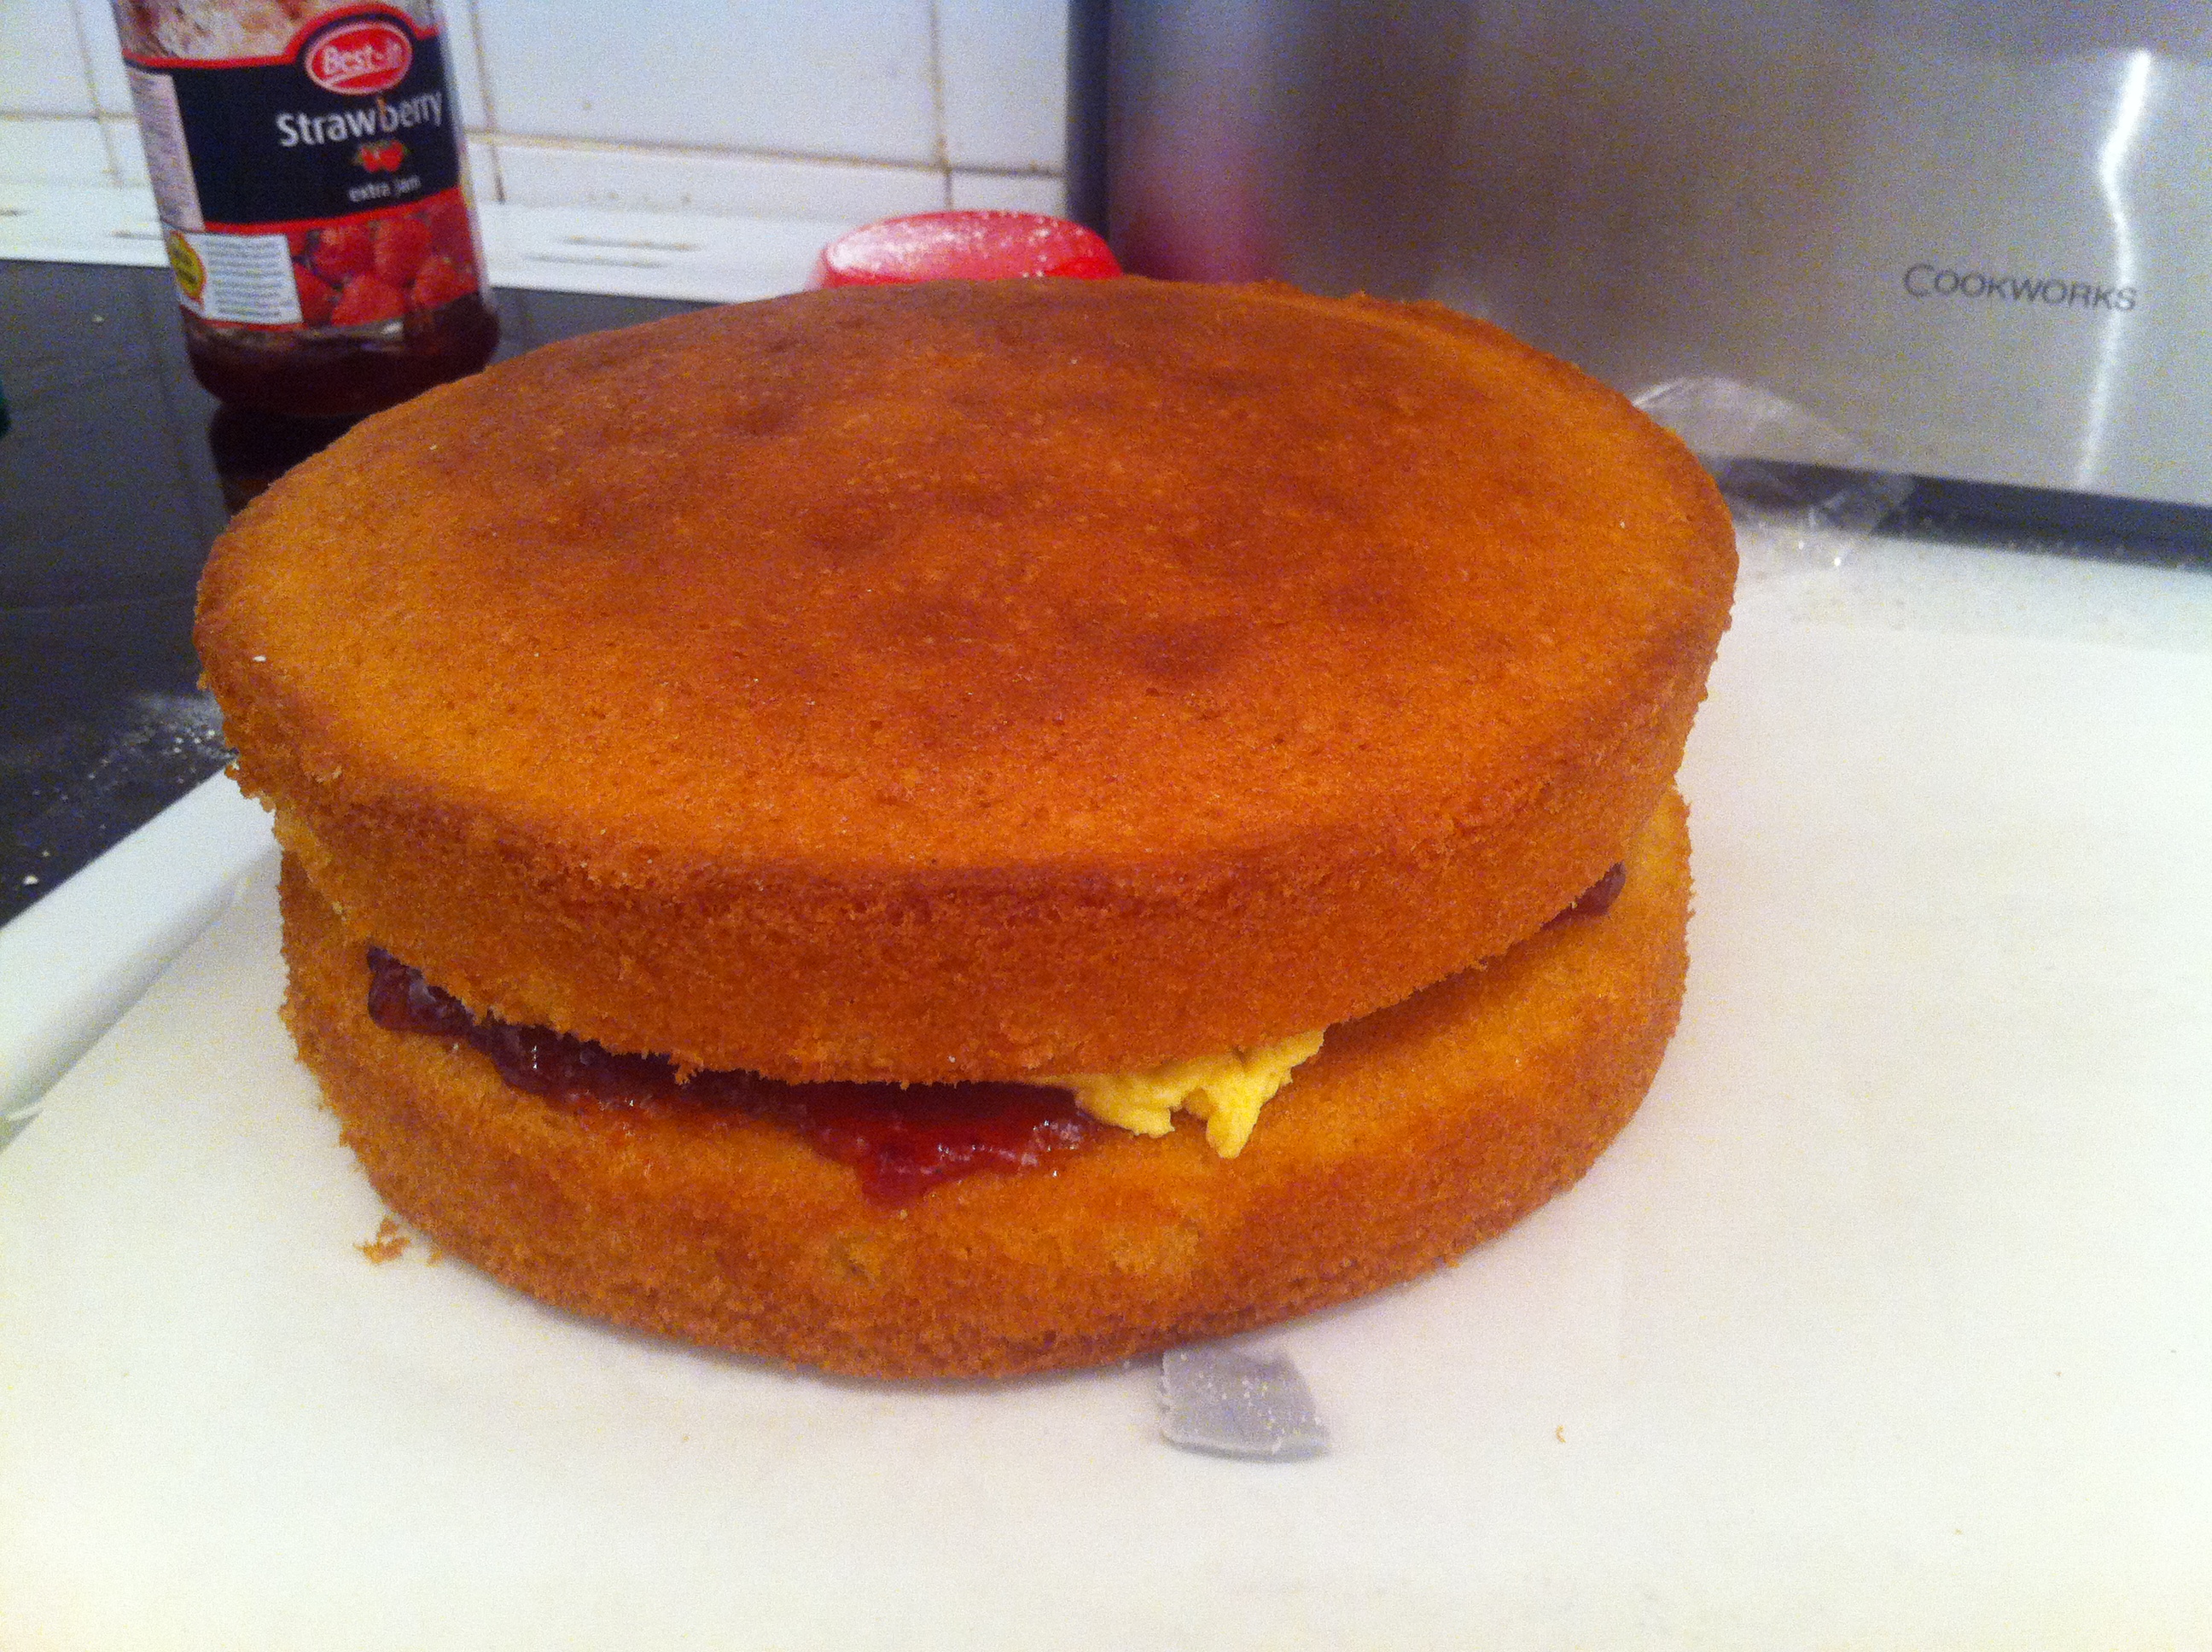
Here’s a picture of the lemon loaf, just to prove the recipes work well and aren’t too difficult

005

I’ve definitely got my eye on the Lemon cupcakes and the Blueberry pie in the pictures above as my next two bakes. Probably after my exams are finished, which seems a very long way off I’m afraid…… 😦

On that note I’d like to apologise for not keeping to my posting schedule, I’ve just been trying to focus on revision for my university final year exams. Hopefully I will be back on schedule soon!

Time to De-Stress

Most of us find stress in our day to day lives but with exam season on the horizon anyone in education will be feeling the pressure. Revision and deadlines have been making me feel stressed out and generally down. I thought I would talk about a couple of things that I find have been really helping me deal with my stress.

First up is the Origins Peace of mind on the spot relief. Just applying a couple of pumps of this and rubbing into the temples and the back of the neck really helps me. I find the scent and the tingling sensation of the product really helps calm me down. I’ll definitely be applying a bit of this before any exams I have so I don’t find myself getting too anxious. This is also great for you if you’re having trouble sleeping, massage a bit into your temples before trying to nod off and it may do you a lot of good. The product is fairly expensive at £13 but I think it will last a fairly long time and you probably ( I hope) won’t be needing it every day!

oooo

The next thing that I find particularly helpful is taking a bath, fairly obvious I know. In times of stress I particularly like to use The Comforter Bubble Bar from Lush priced at £4.50 but you can get two baths out of it. I find that after a hard day revising or working, taking a bath with a magazine helps to take your mind off it all. I’m the kind of person that can’t stop worrying or thinking about what I have to do tomorrow, taking your mind off these kind of things for parts of the day is really key to keeping you feeling fresh! The comforter is great because of it’s soothing scent and great before bedtime if you’re having trouble sleeping!

lushy

Lastly, I thought I would mention calm.com, which is a website/ app that helps you meditate. I find meditations really relaxing but don’t really know how to go about it alone. I would recommend trying this out, as an easy 5 minute relaxation trick!

Good luck for those of you with exams!

Making a Minion Cake

The other day I was tasked with making a birthday cake for a friends 4 year old son, they said he would love a cake with a minion from the Despicable Me films. I was pretty nervous, not being the best cake decorator but actually feel like it sort of turned out okay. Anyway the recipient was pleased and recognized it as a minion so I spose that’s always something! I thought I would just show you the cake and write about how I iced it in case any of you have young minion loving friends who would appreciate such a cake.

005

So I started off with a homemade victoria sponge filled when cold with jam and buttercream.

003

Then I moved onto the decorations. First of all I had to colour a lot of white icing yellow. Colouring icing is always my least favourite part, I feel like it takes ages especially in the colder months. When I was satisfied with the yellow-ness of the icing, I rolled it out and covered the cake. Take care cutting the excess of the bottom to ensure a neat edge!

Then I moved onto making the face. In order to do this I had traced the main features of a minion face from a picture off the internet. This means that you can have any minion you like topping your cake or pulling any manner of cute faces.

001

I then had to colour some icing grey ( just using a tiny bit of black food colouring), black and brown (actually used cocoa powder). In order to make the face I just cut out the eyes, mouth and hair and placed them over the icing and cut round…. as you can see from the photo below

002

I find that this is the easiest way to create cake toppers and I’ve done this for several things such as Batman cakes, 2D care bears and all sorts!

Anyway, I hope you all make minion cakes!


Review: WoodWick Candle

I’ve been looking to try a candle from the WoodWick candle line for a while. I’d heard that they sell them in TK Maxx but had never been able to spot one. This weekend, a 5 minute rummage through the very unorganised candle shelf in my local TK Maxx resulted in me coming across one WoodWick candle in the scent Rum Raisin. In TK Maxx the 10 ounce candles retail for £9.99 which is the cheapest I’ve ever been able to find them. You can buy them off their official website http://www.woodwick.co.uk/ or find them on Amazon or Ebay! So let’s get on to talking about the actual candle……

WoodWick candle in Rum Raisin

WoodWick candle in Rum Raisin

First of all I really like the packaging, as you can see from the photo it’s a nice glass jar with a wooden stopper, simple but good. I was so excited to try these candles because they’re different from anything I’ve ever had before, having a wooden wick ( hence the name) which is supposed to deliver a “faster fragrance and a better burn” and claiming to crackle as they burn. I burnt the candle for about 4 hours and I did find that it burnt really evenly which is always a plus. I also think this candle will last ages as it hardly seems to have gone down at all. On to the all important crackle, yes people it does make a lovely and subtle crackling sound which I found to be such a novelty and really loved!

The scent for me wasn’t really Rum Raisin but more of a cinnamon/spice scent. I don’t mind this particularly as I love cinnamon scented candles and I thought it was a really pleasant aroma. I found that the candle had a really good throw filling the room with a nice but not over powering scent. I don’t see what more you could wish for!

All in all, I’m really pleased to have purchased this candle and have already been snooping around the WoodWick website looking for more scents to purchase! I would definitely recommend 🙂

If you’re looking for any new brands of candles at very fair prices take a look at this section of the TK Maxx website: http://www.tkmaxx.com/home/candles+photoframes/icat/4233

Making Fudge

So last week I decided that I wanted to give making a fudge a go as it’s one of my favourite treats. Although the recipe is fairly simple in itself I always have trouble getting things to the right consistencies and temperature in order for them to set. True to form, my first go was a failure and instead of setting in a nice of fudgy texture I ended up with syrup! However my second go worked a treat and this is the reason for my post, to share firstly the recipe but also what I found out along the way.

First things first, I would recommend  purchasing a sugar thermometer for making fudge, caramel or any sort of sweet! If you don’t want to get one then there is another way of checking to make sure your mixture is heated to the right temperature, by dropping a tiny bit of the mix into a cold glass of water. For fudge you want it to reach what is known as “soft-ball” stage, basically when you take it out of the water it should be a soft-ish but well formed ball. I would research this online further before starting because I don’t have much experience of this!

002


So here’s the recipe: (makes about 30 pieces)

Ingredients:

500g granulated sugar

150ml Whole milk

175ml Evaporated milk

100g Unsalted butter

2 Teaspoons of Vanilla Essence

Method:

1. Grease an 18cm square tin well.

2. Measure out all the ingredients. Place milk, evaporated milk, sugar and butter together and place on a low heat.

3. Stir together until all the ingredients are combined and bring to the boil.

4. Keep the mixture on the boil and continuously stir until it reaches 115 degrees Celsius or soft ball stage.

5. Once it has reached 115 degrees Celsius, take the mixture off the heat and stir in the vanilla extract.

6. Leave the mixture to cool in the pan for about 5 minutes or until thicken.

7. Pour into your tin and let it set. This could take anywhere from 20 minutes to a few hours.

8. When set cut your fudge up!

My Tips:

First of all it is essential that you that you heat the mixture up too 115 degrees Celsius or soft ball stage; accuracy is key here. If you don’t  your fudge will not set properly or at all.

Be careful of your mixture, its super hot and don’t let it boil over. Trust me, it does not come off the hob easily.

Following the note above, to keep it from over boiling and more important to get the right consistency you must continuously stir when it begins to boil. This really is important!

Last of all, if your mixture doesn’t set and is sitting there like syrup you can just put it back in the pan and try again. I did this and it worked out really well without me having to waste anything.

Hope you try this out 🙂


Homemade Pizza

Today’s post is a yummy pizza recipe! Obviously you can put whatever toppings you like on the pizza, I’ve just listed my veggie options as some ideas.I made this with my boyfriend one Saturday night ( hence the distinctly meat filled pizza on the left) just after Christmas when money was tight and we didn’t want to spend our pennies on going out, it turned out to be a really fun night in so give it a go!

185

Ingredients: Makes 2 about 8 inch Pizzas (like the above photo)

For the base:

  • 325g Strong White Flour
  • 3.5g Easy Blend Yeast ( most sachets seem to be about 7g so just half that)
  • 1 tsp Salt
  • 1tbsp Olive Oil
  • 25ml Warm milk
  • 162 ml Warm water

For the sauce:

  • 200ml Tomato Passata  ( from a carton or a can)
  • 1 -2 tsp Dried Oregano
  • 1 clove of Garlic finely chopped
  • 1-2 tsp Basil
  • Salt and pepper to taste

Topping:

For two pizza’s I used 1 ball of Mozzarella,some grated cheese of your choice cheddar etc, a small red onion sliced, red pepper, small cherry tomatoes halved, olives. Obviously use whatever you like and however much you can fit on!

Method:

1) First we start with the pizza base. Mix all of the dry ingredients together in a bowl, add in the oil and milk. Gradually add in the water, do this slowly as you may not need it all. You don’t want your dough to become too sticky!

2) Knead the dough for abut 5 minutes.

3) Roll the dough into a ball and place it back into the mixing ball. Cover the bowl with cling film and leave somewhere warmish for about an hour or until it has double in size.

4) In this hour, you can chop up all of your veggies and slice your mozzarella etc for the top.

5) On to the sauce. Drizzle a small amount of olive oil in a pan and place the garlic and herbs in the oil to heat until warm but don’t burn! I find this just helps to bring out the flavour or so I’ve been advised. Measure your passata and mix in the herbs and garlic. Taste it and add salt and pepper to your own taste.

6) After the hour is up, take the dough out of the bowl and knock out the air by kneading, Split the dough in two, flour a surface and roll it out into the most pizza like shape you can manage.

7) Spread over as much of the sauce as you like and add your toppings.

8) Bake in an oven on 200 degrees for about 20 minutes. Keep an eye on your pizzas, you may have to turn them round a few times to make sure they cook through evenly and none of the edges burn. When you think it’s ready try and make sure the middle is cooked through properly, you don’t want a soggy bottom but a nice one like the picture below…..

187

Let me know if any of you try this recipe out!


The Easy Wear Orange

So it would seem that fairly bright orangey and coral lip tones are going to be on trend this Spring/Summer. Being super pale and generally liking to stick to pink/ red tones, I was thinking that this was a trend that I would never fit into. This all changed when I found the Bourjois Shine Edition Lipstick in shade 20 in Boots the other week. To me it is the easiest to wear coral/orange tone lipstick and I’m obsessed!

004

Bourjois Shine Edition lipstick in shade 20

First off I love the packing of these lipsticks, they’re simple but very chic looking. Bourjois promise an ultra shine result which I think this lipstick delivers but its not overly glossy which is something I like. It’s not the most long lasting formula and without eating or drinking will probably only stay on for a few hours meaning re-application is necessary but that’s the case with most non matte lipsticks. The formula also claims to moisturise lips for up to 10 hours. I’m not sure that it kept my lips moisturised for this length of time but the formula does feel nourishing and you won’t need a balm or anything underneath.

Super pale arm :O

Super pale arm :O

So here’s a closer look at the shade (20), it’s a bright corally orange but not too bold and I think I find it so easy to wear because its more pink/orange toned rather than a bold blood orange/red . It’s pretty sheer yet buildable which also makes it easy to wear. I feel like the tone really compliments pale skins and it’s a shade suitable for both day and night wear. This shade is going to be my go spring/summer shade. If you’re like me and want an orangey shade that’s easy to wear then get to Boots and give this a swatch! The lipstick and all the other shades in the range retail for £7.99 which is a fair price for a beautiful and on-trend shade, cute packaging and moisturising formula.


March Favourites

Hey everyone! It’s that time of the month again to discuss the things that I have been loving over the last 30 days or so! Without further ado let’s get started….

Beauty Favourite

I received a tangle teezer for my birthday in January and I have been loving it ever since. I have fine hair that tangles so easily and nothing helps comb my hair back to normality the way this does! I was given a really cute one as well, the blue and pink version as you can see from the photo! I would seriously recommend this to any of you, it detangles your hair without ripping it out or damaging it for £10.99.

tt2

Skin care

My skin care favourite this month is the seaweed mattifying day cream from The Body Shop. I wrote about this in a skin care haul post a couple of months back and I’m still loving it. It helps control my oily skin throughout the day, keeping my makeup looking good!

TV/Film:

This months choice is pretty random but I’ve really been enjoying Scrubs! I hadn’t watched every episode before and just seen random ones whenever they happened to be on TV. My boyfriend ( a scrub’s obsessive) decided it was time that I watched it the whole way through and it’s really been keeping me entertained.

Food:

As spring seems to have finally arrived in the UK I’ve been enjoying fresh strawberries! They have always been my favourite fruit and it’s always wonderful when you get to that time of year when properly ripened strawberries appear in the supermarket. If you fancy cooking with strawberries try out my recipe for strawberry and cream cupcakes!

Random:

My random favourite this month has to be ItsJudysLife Youtube channel. I’ve really been enjoying watching their daily vlogs especially as Judy and Benji had twin girls this month! If you haven’t ever checked out their channel then get over there now!


Quick Herb Growing Update

It’s been several weeks since I did a post about planting basil, parsley and chives to keep on my windowsill. ( See that post here: https://beautyandthebaking.wordpress.com/2014/03/09/first-time-herb-growing/)

I thought I would give a quick update to show how much (or how little) they have grown and give my thoughts on what I would do differently next time I plant herbs.


001

Top left: Parsley, Top right: Chives, Bottom: Basil

So as you can see from the photo all three have started to grow. The parsley began growing a lot sooner than the other two and has filled out the pot much faster than the other two. The basil has only just started to rear its head, just as I was giving up hope. After doing some research online I’ve decided that I’m going to need to take out some of the parsley seedlings as the pot is becoming increasingly overcrowded. I’m a bit nervous about doing this as I don’t want to kill them all off! Anyway I’ll let you know how that goes!

Things I will do differently next time:

  • Despite me being initially drawn in my the cuteness of the metal buckets to grow the herbs in, they don’t have any drainage holes in the bottom. I now realise that drainage holes are quite important and stop your soil from becoming water logged. Next time I will just use basic plastic growing pots from somewhere like Wilkinsons.
  • The instructions on the growing set lead me to believe that you should put all the seeds in the pots but I think on reflection it would have been much more sensible to spread them thinly and just save some seeds for another time. This would help to reduce the overcrowding problem and maybe help me to avoiding weeding out or transplanting some of the seedlings.

Anyway, I’m just glad that the seedlings are growing!

P.S.I have also planted some seeds/bulbs from the box below so let me know if you want any updates about how tomatoes, radishes,mixed salad leaves or onions are growing!

004


Review: Pixi Wakeup Concealer

Today’s post is just a simple review of a product that I’ve had in my makeup storage for a while, the Pixi Wakeup Concealer which retails online for £12.00. Here are my thoughts on the product…..

The lighting was really bad yesterday so I couldn’t manage to get a photo that really did the packaging justice. As with all the Pixi products the packaging is super cute and feels quite expensive. I got my concealer in the shade 01 cream which is the lightest shade, although I found this to be a good match for me I have noticed that there are only 3 shades available so I’m sure that some people would find it hard to get a decent match. The main problem I had with this concealer is the formula, as I personally find it too drying for use under the eyes. Even after applying eye cream I find that it’s difficult to blend in and worst of all it creases throughout the day. Although it does brighten up the under eye area, I can’t get past the dry formula so have never managed to get much use out of it. I was obviously disappointed as it’s not the cheapest product and most of all I genuinely love every other Pixi product that I’ve tried so I had expected to be really pleased by this.

Let me know what under-eye concealers you’ve been using!